Generating a new photo of myself to use in Slack with Stable Diffusion and Dreambooth
This week I’ve decided to play a bit with stable diffusion. I know I’m a bit late to the “trend”, but I finally caught up to it. I’ve decided to create this post just to register my quick and little experiment with it alongside Dreambooth. My goal was to generate some photos of me that I could use as a Slack avatar, because I was a bit tired of my current one, and I didn’t fancy using any of the photos that I had. Last week I saw a coworker using a Stable Diffusion generated photo and thought I would finally try it!
I was not sure where to start with it, I knew the model existed, but I didn’t read any papers or studied its architecture. I still haven’t, but I’ll get to it soon enough, that was not my main goal here. Instead, I search the web and found this cool starting guide: DIY Lensa: Creating AI Portrait Pictures using Stable Diffusion and Dreambooth. It has everything that you would need to start creating your own photos and if you are interested in using this model I definitely recommend using it!
The tutorial will guide you through using AUTOMATIC1111’s webui which was great for my initial experiment, but If I ever go back to it to try and run some experiments, I would definitely create my own scripts to run everything. The GitHub repo has everything that you need to know on how to install it, so you can follow that guide, but to download the model itself I had to look for the most recent version of it, which currently is Stable Diffusion 2.1 (v2-1_768-ema-pruned.ckpt).
After everything was set up, and the WebUI was working I selected 30 photos of me, which can be seen below. I’ve read that using fewer photos is better, I’m not really sure, that’s one of the experiments that I want to run sometime, but 30 seemed like an ok number so I went with it. I did crop all of the photos to the 512x512 resolution.

After the train images were selected I generated the regularization images with stable diffusion itself. That’s an optional step, as stated on the webui and the tutorial to prevent overfitting on your face. Entagma’s tutorial used a thousand images, but honestly, it was taking way too long to generate random faces. I have a RTX 3060, so it is not the best video card out there, and it was taking around 30-40 seconds to generate one, however, most were not useful. Lots of glitchy faces or body shots were generated. For every 10 photos, only half of them were really useful. In the end, I ended up with 100 face photos to use. The best prompt that I found was to use the “photograph of a blonde, attractive man, head, portrait 50mm f1.8”.

I had some troubles with VRAM as I have a RTX 306 with only 12GB of memory, so there was a lot of troube making the training work. At the end, I got it working with these settings:
- Use 8bit Adam
- Mixed precision: 16fp
- Memory Attention: xformers
- Disabled “Train Text Encoder”
Sometimes, even with these settings, the train wouldn’t start, but reloading WebUI fixed it. I want to train the model again, with the same photos, but without all these options, just to check how the quality changes. Unfortunately, I won’t be changing my GPU anytime soon and I’m not curious enough to use a cloud machine with one :P.
After training the model using Dreambooth I started the process of creating prompts that would generate a good Slack photo! The first ones that I generated weren’t that great, so I searched the web to look for some keywords that would fit what I wanted. Using the focal length of the photo, in this case, I used “50mm”, really did the trick that I wanted. Adding “Portra”, one of the best films created also helped. Then I thought of where would be a cool place for a photo, so I thought of Tokyo, with lots of neon signs in the background. In the end, I started generating my photos with the prompt “photograph of a man zkz, blonde hair, muscle, portrait, head, in Tokyo, neon signs, portra, 50mm”. I added the “muscle” keyword, as I was a bit too skinny in images that were being generated (The model also generated some pics where I’m really muscular, which definitely made me want to increase the weights that I lift at the gym).
As a sampling method, “Euler a” had the best results out of the box. I want to play around with all of the other methods to check the differences! In the end, I ended up with some nice-looking photos, and pretty close to what I had in mind. These were two of the best, and I ended up using the second one as my Slack photo. Yay, mission accomplished (and rather quickly)!


After reaching my objective, I started playing around with some prompts. I tried to generate some pics of me in some anime universes, like Fullmetal Alchemist, but I haven’t reached any good results yet. But in the search of a good prompt, I ended up stumbling in some watercolor drawing, so I trtied to generate some drawing of me in this style! I generated very few examples, but I really liked it.
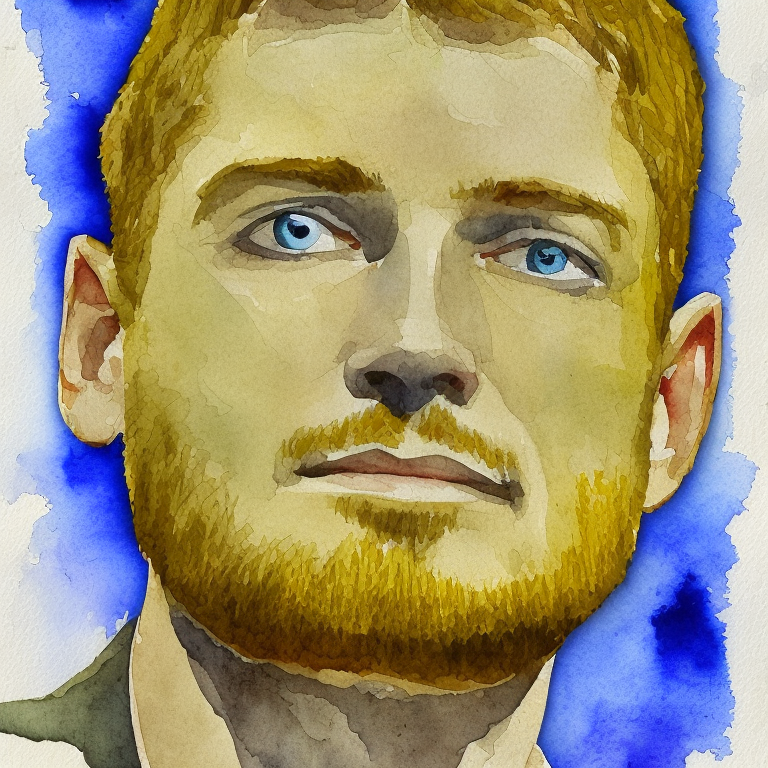
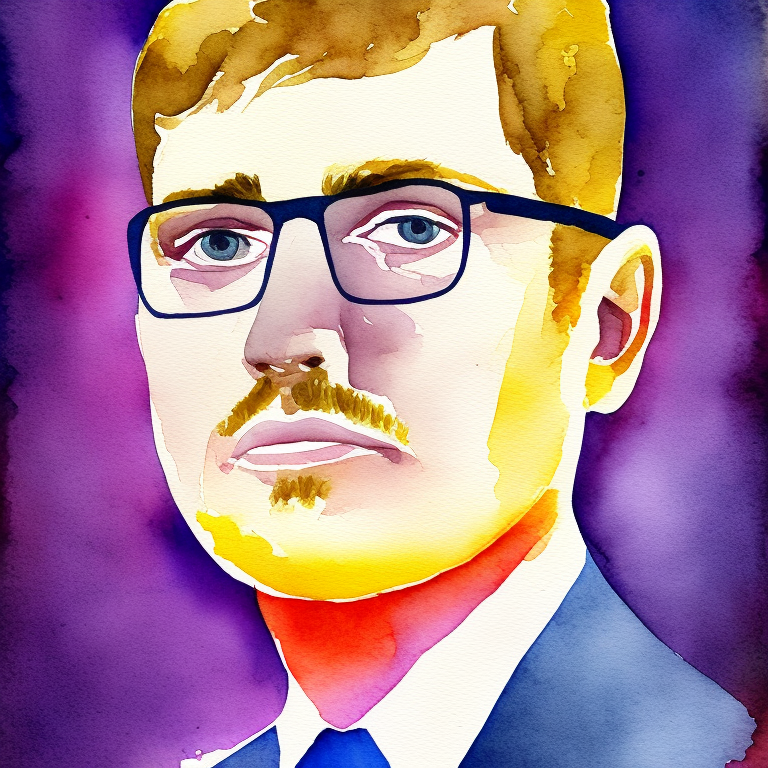
At this point I wasn’t generating any really cool pictures so I went and looked for some Prompt specific websites, like Prompthero. I search for portraits and got the prompst that I found looked good. I only tried one but I liked the results! However, some of them do not a lot like me, but I did not generate a lot of them also to find the best one.
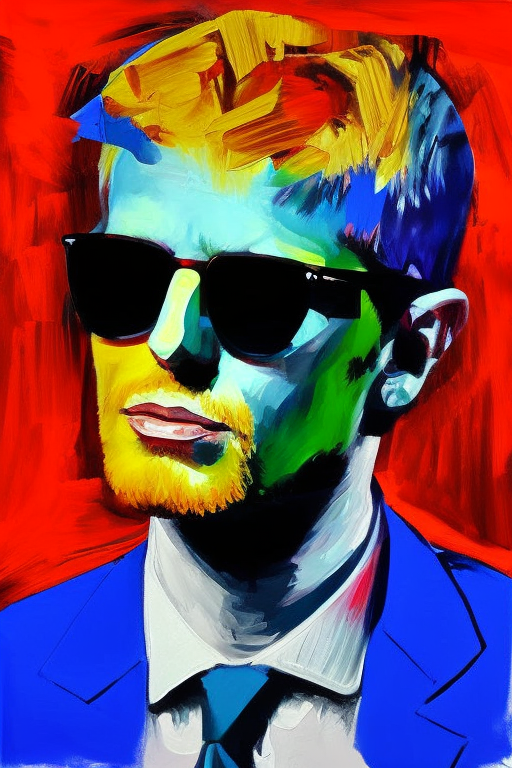
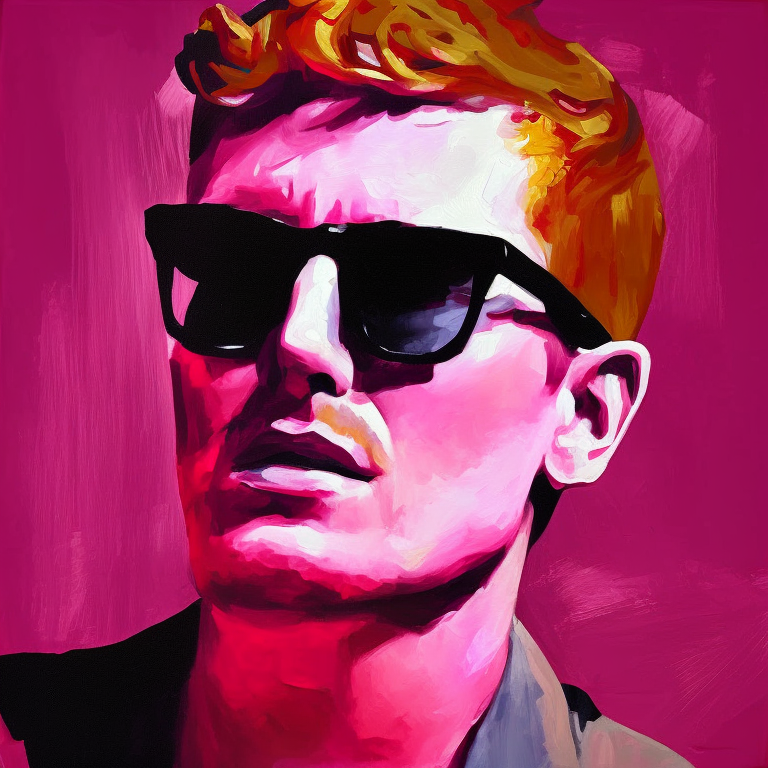
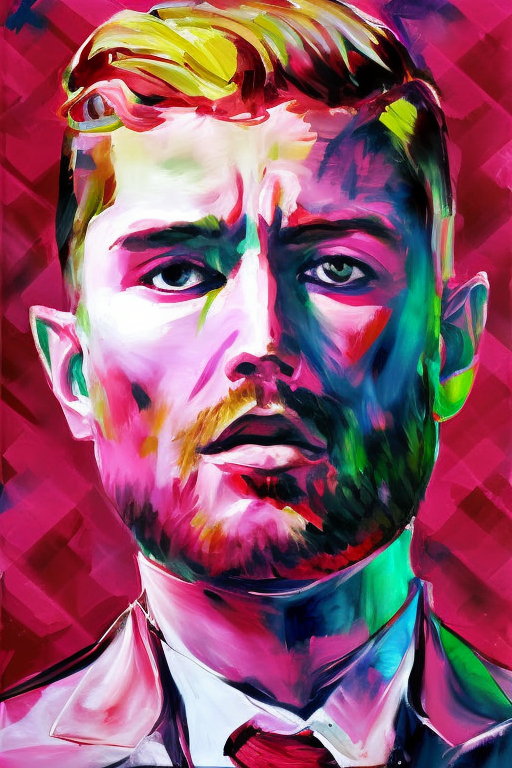
This ones were with prompts that I got somewhere in my Google Searches.
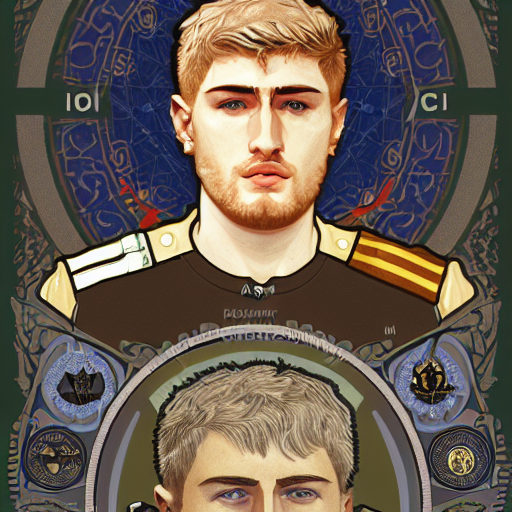
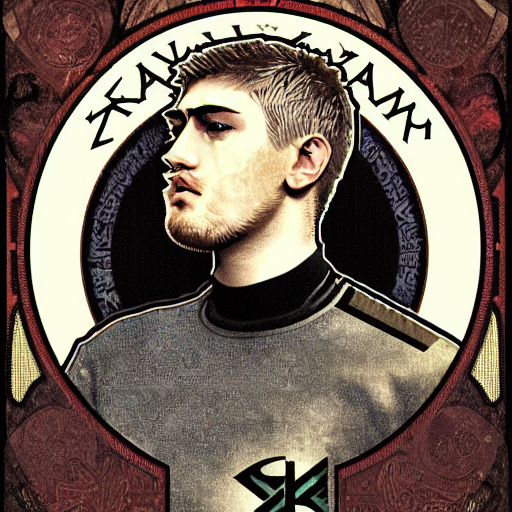
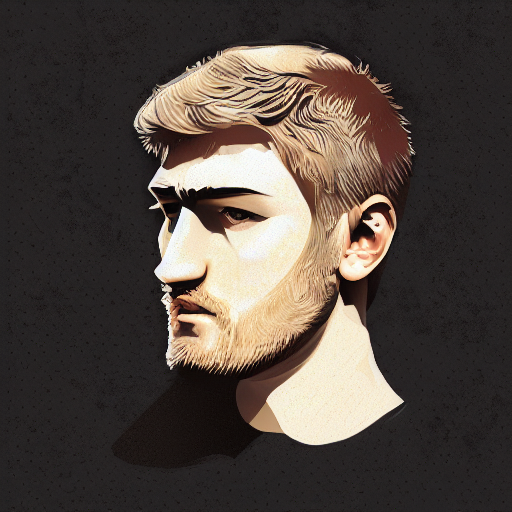
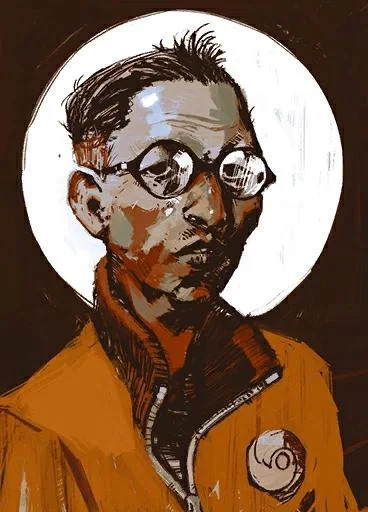
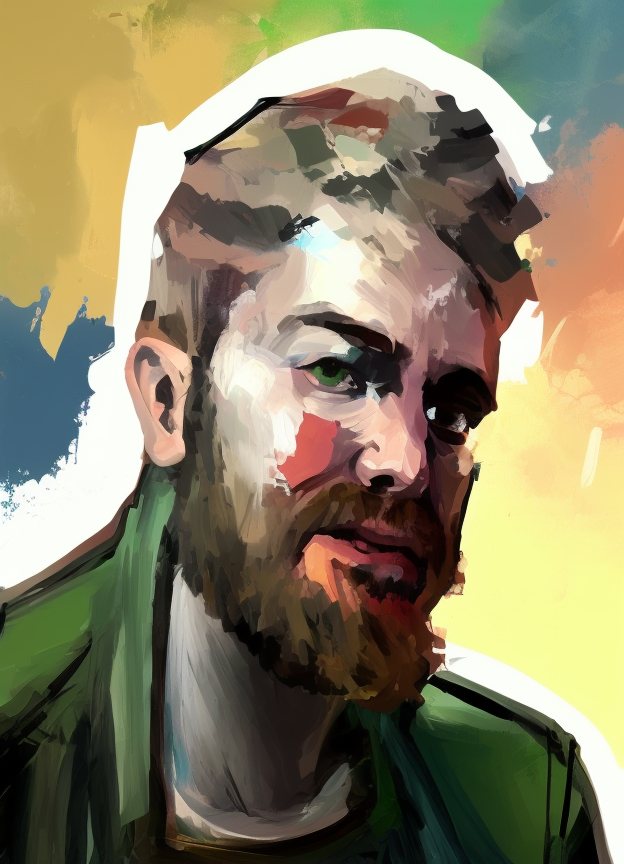
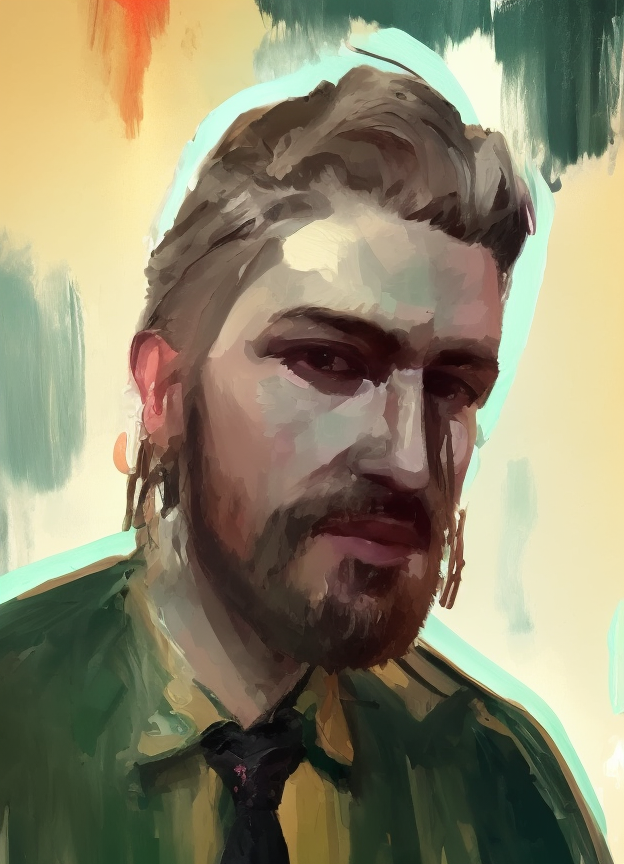
And finally, I tried the img2img option. I really like Disco Elysium, and the artstyle in the game is absolutely incredible, so I used the photo of Kim Kitsuragi as this experiment. This ones were my favorites from the initial batch that I generated.
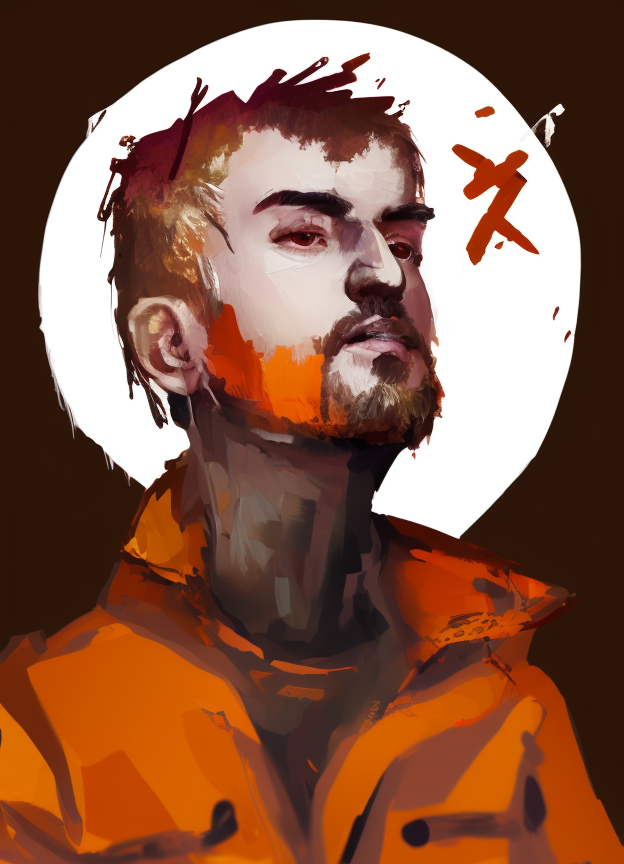
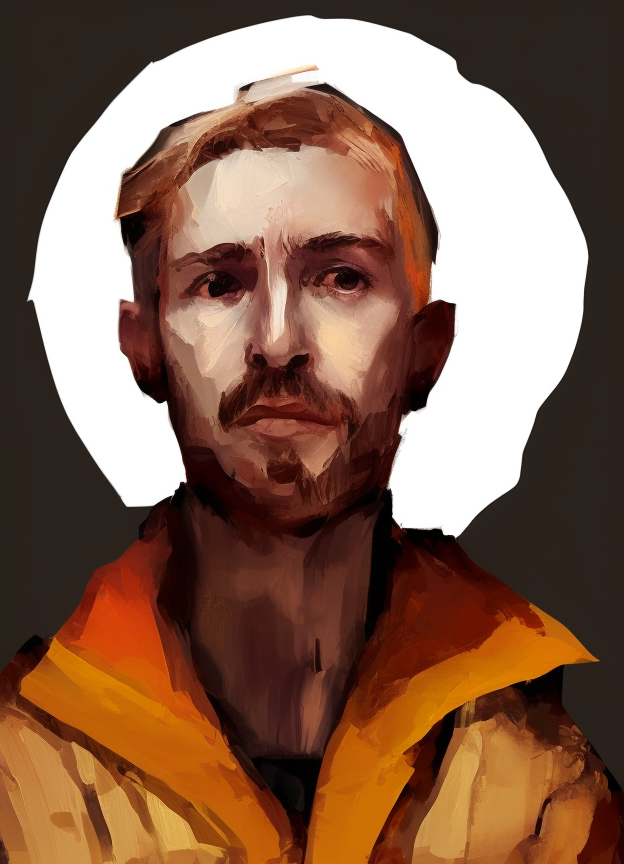
I also tried with Harry Du Bois.
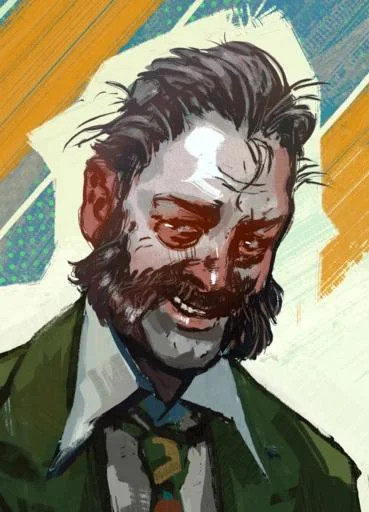
So that’s it. That was my one-day journey with Stable Diffusion and Dreambooth as a Data Scientist/Machine Learning engineer. I’ve only scratched the surface but it is a really powerful model and can generate a lot of interesting images. I won’t go into the ethical questions of these models (GPT3, DALL-E, and other ones) in this post, as there is a lot to cover, but it is definitely a question that should be on your mind when using it, and a topic that I will be keeping a close eye as the discussion grows. In the meantime, I hope this post helps up create some cool images of you!
Have a great day!